How to Create DTF Transfers: A Simple Guide for Beginners
If you're looking for a high-quality, durable method for creating designs on garments, how to make DTF transfers is the way to go. Whether you're new to the world of DTF printer transfer or an experienced printer expanding your toolkit, this guide will walk you through each step. From the essential tools to the detailed printing process, we’ve got you covered.

What is a DTF Transfer?
DTF (Direct-to-Film) printing is a method of printing designs onto special films, which are then transferred onto fabrics. Known for its vibrant colors and fine details, DTF printing is a preferred choice for many garment decorators. Unlike traditional methods like screen printing or vinyl cutting, DTF printer transfers are incredibly versatile, able to be used on a wide range of fabrics, including cotton, polyester, and blends.
Also Read: What Does DTF Mean in Printing? Discover the Growing Trend in Apparel Decoration
How to Make DTF Transfers at Home
Wondering how to make DTF transfers in your own space? The process is very similar to commercial setups, but there are a few key differences to keep in mind:
- You don’t necessarily need a dedicated DTF printer, though using one will make things easier.
- The powder adhesive can be messy, so it’s important to have a designated area for curing your prints.
- A heat press is essential to ensure a professional finish when transferring the design onto garments.
What You Need to Print DTF Transfers
Before you dive into how to make DTF transfers, let's take a look at the essential tools and materials you'll need:
- DTF Printer: This specialized printer is designed for DTF printing. While you can modify a standard inkjet printer for DTF printer transfers, having a dedicated DTF printer will give you better results.
- DTF Ink: This vibrant, durable ink is specially formulated to work with DTF transfer film and provide high-quality, long-lasting prints.
- DTF Transfer Film: This special film holds the printed design before it is transferred to fabric.
- Hot Melt Adhesive Powder: This powder is applied to the printed design while the ink is still wet. It helps bond the design to the fabric during the heat press transfer.
- Heat Press: Used to transfer the design from the DTF transfer film to the garment, the heat press is crucial for achieving a strong, lasting bond.
Step-by-Step Guide to Make DTF Transfers

Here’s a step-by-step guide on how to make DTF transfers successfully:
1. Design Your Artwork
Start by creating your artwork using graphic design software like Adobe Photoshop or CorelDRAW. To ensure the best print quality, make sure to use high-resolution images. Your design can range from logos and patterns to intricate illustrations.
2. Print the Design on DTF Transfer Film
Next, print your design onto DTF transfer film using your DTF printer. Remember that the design should be printed in reverse (mirrored) so that it transfers correctly to the fabric.
3. Apply the Hot Melt Adhesive Powder
While the ink is still wet, apply the hot melt adhesive powder to the printed design. The powder adheres to the wet ink and acts as the glue that will bond the design to the fabric during the heat press transfer. Be sure to apply the powder evenly, without gaps or clumps.
4. Cure the Design
After applying the adhesive powder, you’ll need to cure it. Use a heat press or curing oven at a lower temperature to melt the powder into the ink. Proper curing is essential to ensure that the adhesive bonds correctly.
5. Transfer the Design to the Fabric
Once the design is cured, place it on your fabric and prepare to transfer it using a heat press. Preheat your heat press to 320°F (160°C), then place the DTF transfer film onto the fabric with the design facing down. Press for about 15-20 seconds with medium pressure.
6. Peel Off the Film
Allow the garment to cool before carefully peeling off the DTF transfer film. If everything has been done correctly, the design should adhere perfectly to the fabric, with vibrant colors and fine details intact.
How to Make DTF Transfers with a Sublimation Printer
If you're wondering how to make DTF transfers using a sublimation printer, it's quite simple—just switch to DTF ink and use DTF transfer film instead of sublimation paper. You can follow the same steps for printing, applying adhesive powder, curing, and heat pressing.
Why Choose DTF Transfers?
There are several reasons why DTF transfers are becoming increasingly popular among print shops and hobbyists alike:
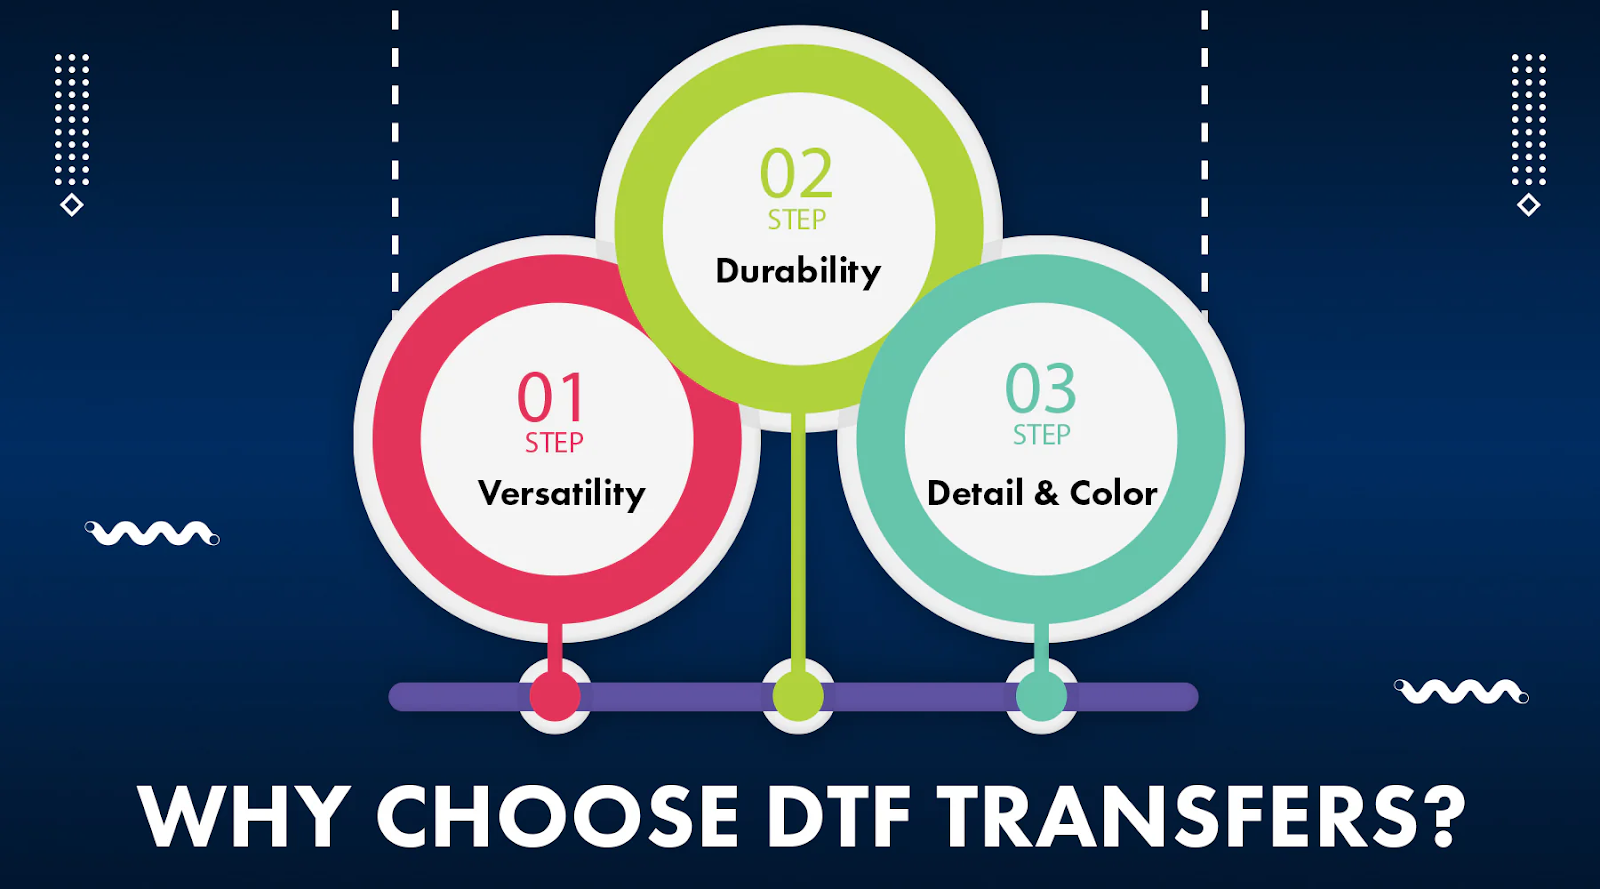
- Versatility: DTF printer transfers can be applied to a wide variety of fabrics, including cotton, polyester, and blends.
- Durability: The adhesive powder used in DTF transfers creates prints that are highly durable and long-lasting.
- Detail & Color: DTF ink produces prints with incredible color vibrancy and fine detail, making it ideal for complex designs and logos.
- Also Read: How to Print DTF Transfers? Learn the Correct Technique for Best Results
Conclusion
Learning how to make DTF transfers is a fantastic way to elevate your custom printing skills. Whether you're printing for personal use or starting a small business, DTF transfers provide a simple, versatile, and effective solution for high-quality designs. With the right equipment and a little practice, you’ll be able to create stunning, durable prints that stand the test of time.
Now that you understand how to make DTF transfers, it’s time to dive in and start creating! Explore the world of DTF printer transfers and DTF ink to bring your designs to life. Check out DTFNC for all your DTF printing needs, whether you're a beginner or an experienced pro!


Comments
Post a Comment